How to Set Up a Poetry Interactive Notebook for Middle and High School
 Andy Navarro · Writing & Grammar ·
How to set up a poetry interactive notebook: supplies, table of contents, input and output pages, and a lesson order from elements to analysis.
Poetry is the unit students walk into already convinced they'll hate. A poetry interactive notebook changes that more than anything else I've tried. When students cut, fold, label and write their way through a poem, it stops being a wall of words and starts being something they can take apart. And at the end of the unit, they have a notebook full of notes they actually made themselves, which is the best study guide there is.
Here's how I set up a poetry interactive notebook from day one, in an order that works for middle school, English I and English II.
Supplies and setup
Keep it simple. You need:
- A composition notebook. Spiral notebooks fall apart once glue gets involved. Composition books hold up.
- Glue sticks. Not liquid glue. Liquid glue wrinkles pages and takes forever to dry.
- Scissors and colored pencils or highlighters. Shared bins at each table save time.
- A class set of the templates for the day, printed and ready before students walk in.
One tip that saves a lot of frustration: tell students to trim templates close to the edge. Overhanging flaps get torn and make the notebook bulge.
The first day: build the structure
Day one isn't about poetry. It's about setting up a notebook that will stay organized for weeks. I walk students through four things:
- Cover page. Name, class period and a title like "My Poetry Notebook." Let them decorate it. This is the buy-in moment.
- Table of contents. Two or three pages with columns for the date, the lesson title and the page number. Every new lesson gets logged here.
- Page numbers. Students number every page in the top outside corner right away. It's tedious, but it makes "turn to page 14" possible all unit.
- A color key. One page that sets the colors for the whole unit. For example: yellow for figurative language, blue for sound devices, green for imagery, pink for theme. Students use the same colors every time they annotate a poem.
The color key is the move that pays off later. By the end of the unit, students can open to any poem and see at a glance which devices they found.
Input and output: the left side, right side rule
Most interactive notebooks use a simple layout rule:
- Right side is input. This is the teacher's content: the notes, the definitions, the foldable with the terms.
- Left side is output. This is where students do something with it: practice, examples, a quick write or their own poem.
The output side is where the learning really happens. Anyone can glue in a definition of alliteration. Writing three original lines that use it, or finding it in a poem and explaining its effect, is what proves they understand it.
A lesson order that builds
Here's the sequence I use. Each part builds on the last, so students have the vocabulary they need before they start analyzing whole poems.
Part 1: the elements of poetry
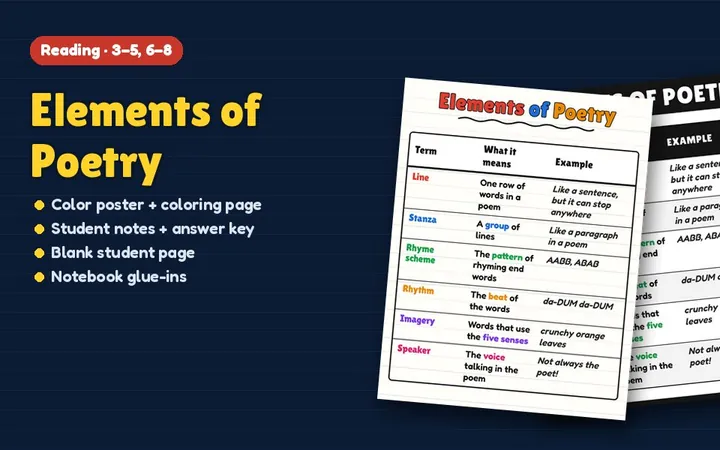
Start with the parts students will talk about all unit: speaker, line, stanza, rhyme scheme, rhythm and meter, and form. An anchor chart on the wall plus a foldable in the notebook means the terms are always visible.
A quick activity: give students a short poem and have them label the stanzas, mark the rhyme scheme with letters (ABAB, AABB) and identify the speaker. Emily Dickinson's "Hope is the thing with feathers" works well here. It's short, it rhymes enough to label, and it opens up the idea of a speaker who isn't necessarily the poet.
Part 2: sound devices
Next come alliteration, assonance, consonance, onomatopoeia, rhyme and repetition. Read poems out loud for this part. Sound devices make no sense on a silent page.
Edgar Allan Poe's "The Raven" is perfect. Even the first line, "Once upon a midnight dreary, while I pondered, weak and weary," gives students internal rhyme and a strong rhythm to hear. Have them tap the beat on the desk. Then they highlight sound devices in the color from their key.
Part 3: figurative language and imagery
This is the heart of the unit: simile, metaphor, personification, hyperbole, symbolism and imagery. I teach these with lots of quick examples before moving to full poems.
Carl Sandburg's "Fog" is a great short example of extended metaphor: the fog "comes on little cat feet." Ask students what the fog and a cat have in common. Quiet, slow, there and then gone. They'll get it in under a minute, and suddenly metaphor isn't abstract anymore.
For output, students write their own short extended metaphor comparing weather to an animal. It's one of the most fun pages in the notebook.
Part 4: forms of poetry
Now students learn the shapes poems come in: haiku, limerick, sonnet, free verse, ballad, ode, elegy and narrative poetry. A card sort works well. Give pairs a stack of short poems and a stack of form names, and have them match and explain their choices.
For older students, a Shakespeare sonnet is worth the time. Have them count the fourteen lines, mark the rhyme scheme and find the turn in the final couplet.
Part 5: putting it together with analysis
By the end, students have the vocabulary to analyze a poem from start to finish. I use a simple routine:
- Read it twice. Once for the gist, once with a pencil.
- Annotate with the color key. Mark every device they can find.
- Ask "so what?" For each device, write one note about its effect. Why use that metaphor? What does the repetition make you feel?
- State the theme. One sentence, as a full idea, not a single word. "Hope" is a topic. "Hope stays with us even in the hardest times" is a theme.
- Write a short response. A paragraph that names a device, quotes it and explains how it supports the theme.
Robert Frost's "Nothing Gold Can Stay" works beautifully for this. It's eight lines long, packed with imagery and metaphor, and the theme is clear enough for students to find but deep enough to argue about.
Tips that keep notebooks from falling apart
- Glue the day's page in first, then teach. Students wait for directions instead of cutting while you talk.
- Keep notebooks in class. A crate per period means no lost notebooks and no "I left it at home."
- Grade with a quick check. Every week or two, check that pages are complete and labeled. You don't need to grade every page.
- Let absent students copy from a model notebook. Keep one teacher copy up to date and they can catch up on their own.
- Use the notebook on tests. Even once, an open-notebook quiz shows students why careful notes matter.
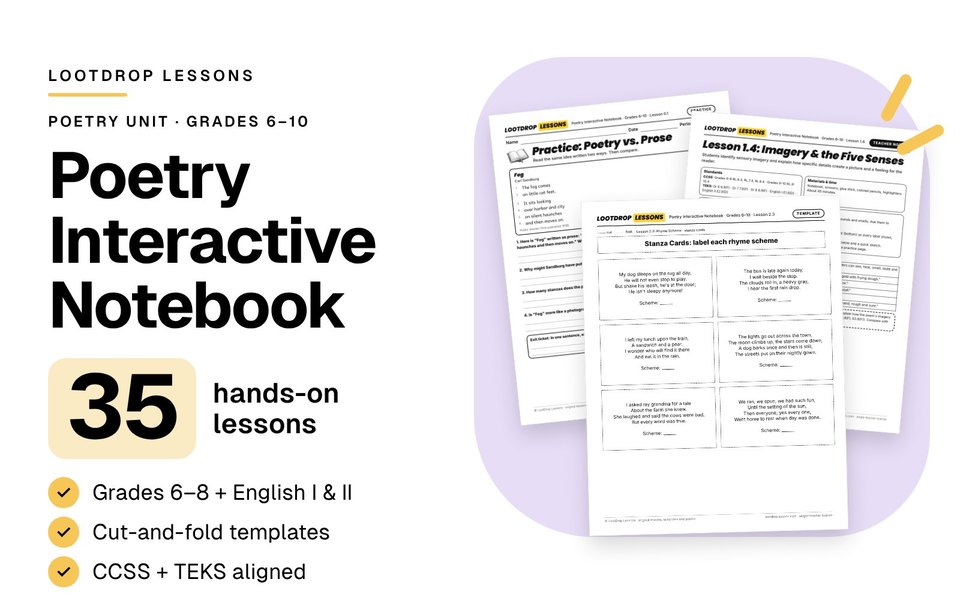
If you'd like the whole thing ready to print, my Poetry Interactive Notebook has 35 lessons with cut-and-fold templates, real poems, practice pages, card sorts, task cards, unit tests and keys, plus editable PowerPoint templates. The Elements of Poetry anchor chart pairs well for the wall, and the Figurative Language Worksheets give students extra practice once they've learned the devices. They're below.