
Free Seating Chart Maker for Teachers: How to Build a Seating Chart That Works
 Andy Navarro · Classroom & Free Tools ·
How to build a classroom seating chart that works, with practical strategies and a free seating chart maker for teachers that prints in one click.
A good seating chart is one of the quietest classroom management tools you have. Nobody notices it when it works. Everybody notices when it doesn't. If you've been looking for a free seating chart maker for teachers, or you just want a chart that stops the side conversations in the back corner, this is how I think about it every time I reseat a class.
The tool matters less than the thinking behind it, so let's start there.
Why seating charts matter more than we admit
Where a student sits changes who they talk to, how well they see the board, how often you walk past them and how easy it is for them to hide. A seating chart is really a plan for all of that. It also does a few jobs teachers forget about:
- It helps you learn names fast. In the first weeks, a chart on your clipboard is the difference between "you in the gray hoodie" and calling a kid by name.
- It makes attendance quick. Empty seats jump out, and you can take roll in seconds while students start the warm-up.
- It saves your sub. A substitute with a seating chart can call on students by name and knows who belongs where.
- It supports accommodations. Preferential seating shows up in a lot of IEPs and 504 plans, and a chart is how you make sure it actually happens.
Step 1: Start with your real room
Before you place a single student, map the room as it actually is. Where is the board? Where is your desk? Where is the door? Which corner has the glare on the screen, and which desk wobbles? A chart built on an imaginary room falls apart the first day.
Then pick an arrangement that matches how your class runs most days:
- Rows: best for direct instruction, testing and a class that needs structure. Easy to scan, easy to walk.
- Groups or pods: best for collaboration, stations and discussion. Harder to manage if the class is chatty.
- U-shape: best for whole-class discussion and Socratic seminars. Everyone can see everyone, and you can stand in the middle.
You don't need to commit forever. Many teachers start the year in rows and move to groups once routines are solid.
Step 2: Place the non-negotiables first
Every class has a few seats that are already decided before you think about anything else. Place these first:
- Accommodations. Students who need to sit near the board, near you, away from the door or close to an outlet for a device.
- Vision and hearing needs. Even without paperwork, students who tell you they can't see the board go up front.
- Keep-apart pairs. You'll know some of these on day one from previous teachers. Others you'll learn by week two.
- Students who need a fresh start. Sometimes the best move is simply putting a kid somewhere new, away from last year's crowd.
Once those are locked in, the rest of the chart is much easier.
Step 3: Fill the rest with a purpose
After the must-haves, decide what you want the chart to do. There are a few common strategies, and each one works for a different goal:
- Mixed levels: stronger students sit near students who need more support. Good for partner work and peer help, as long as the stronger student isn't turned into a full-time tutor.
- Same levels: students with similar needs sit together so you can pull a small group or give targeted help without moving anyone.
- Random: great for the first week, before you know anyone, and for showing students that seats aren't a judgment.
- Alphabetical: boring but fast, and it really does help you learn names.
I tell students up front that seats change and that the chart isn't a punishment. It's just how our room works. That one sentence heads off a lot of complaints.
Step 4: Plan when you'll change it
A seating chart isn't a one-time thing. I reseat at natural breaks: the end of a grading period, the start of a new unit or whenever a class's energy shifts. Changing seats every few weeks keeps students from getting too comfortable, and it gives everyone a fresh start without making a big deal about it.
When a chart clearly isn't working, don't wait for the next break. Move the two students who need moving, and leave the rest alone.
Step 5: Make the chart useful for everyone who sees it
The chart you keep and the chart a sub sees should be a little different. Yours can have notes about levels, accommodations and who can't sit together. The one in your sub folder or on the board should be clean: names and seat locations only, nothing private.
I also keep a roster and an attendance sheet that match the seating chart, so a sub can check roll seat by seat.
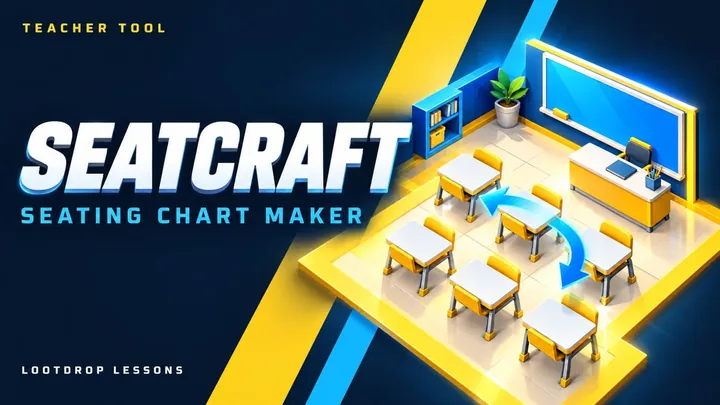
How I build it with the free seating chart maker, Seatcraft
I got tired of dragging text boxes around a slide every grading period, so I built a free seating chart maker for teachers called Seatcraft. It follows the same steps above:
- Draw your room. Drag desks, tables, the board, your desk and the door to match your real room. Start from a rows, groups or U-shape layout, then add or remove desks as needed.
- Paste your roster. Paste a whole class list at once instead of typing names one by one.
- Add what matters. Give students tags and accommodations, add photos to help you learn names, set keep-apart and keep-together pairs and lock any student who needs a specific seat.
- Press Smart shuffle. It seats everyone around front-row needs, keep-apart pairs, keep-together pairs and locked seats. You can also set student levels and have it mix levels or group the same levels together. There's a plain random shuffle and an A to Z option too.
- Fine-tune by dragging. Shuffle gets you close. You make the final calls.
- Print what you need. Seating charts, rosters, attendance sheets and accommodation sheets, plus a note for the substitute under the chart with things like the bell schedule and who can help.
- Present it. Show a full-screen chart on the board with tags hidden, so students can find their seats without seeing anything private.
Student names and photos stay in your own browser. They aren't uploaded anywhere, which matters when you're working with student information. You can save a backup file if you want to restore your classes on another computer.
The free plan covers two classes: your first class gets every feature, and your second gets the basics (build the room, seat students and print the chart). More classes need All-Access.
Common seating chart mistakes
- Seating by behavior only. If the back row is where you put every "problem," you've built a problem zone. Spread students who need closer supervision across the room, near your walking path.
- Forgetting the walking path. You should be able to reach every student without climbing over backpacks. If you can't get there, you can't redirect quietly.
- Never explaining the why. Students handle seat changes much better when they know it's routine.
- Letting it go stale. The chart that worked in September might not work in November. Check it.
Pair it with clear expectations
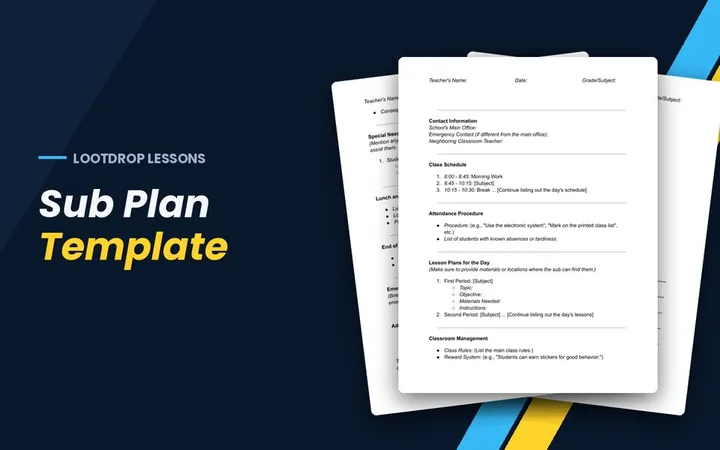
A seating chart works best alongside routines students already know: how to enter, where materials are and what to do when they finish early. If you're setting those up, my classroom rules slides are an easy way to walk through expectations. And since a seating chart is half of a good sub folder, the free sub plan template pairs well with it. Seatcraft and both of those are below.